Using the Bulk Inventory Import Tool
cieTrade has created a bulk inventory import to for clients who track bulk inventory. It allows you to import your most recent inventory count into cieTrade before go-live without generating payables for the material.
Finding the Bulk Inventory Import:
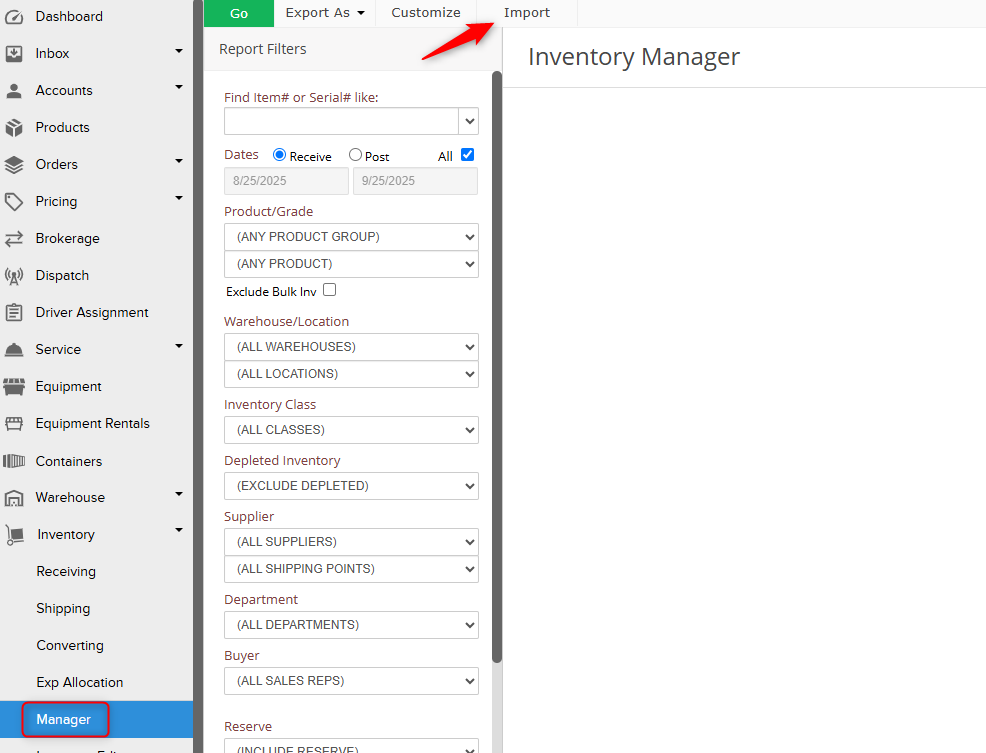
- Navigate to the Inventory Manager module under Inventory > Manager.
- Next to the Go, Export As, and Customize buttons at the top, there will be an option labeled Import. Click it.
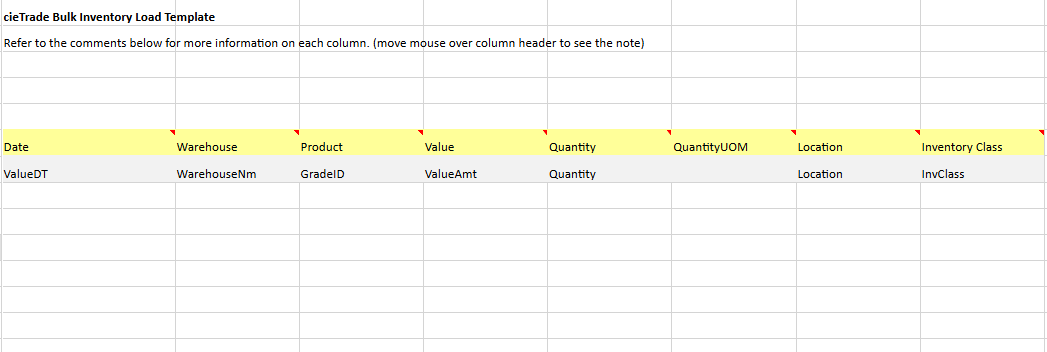
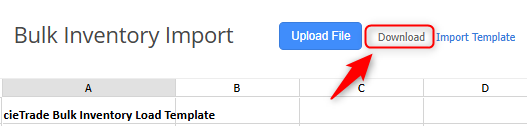
 3. Click on Download in the upper right corner to download an empty template, or copy and paste data into the spreadsheet.
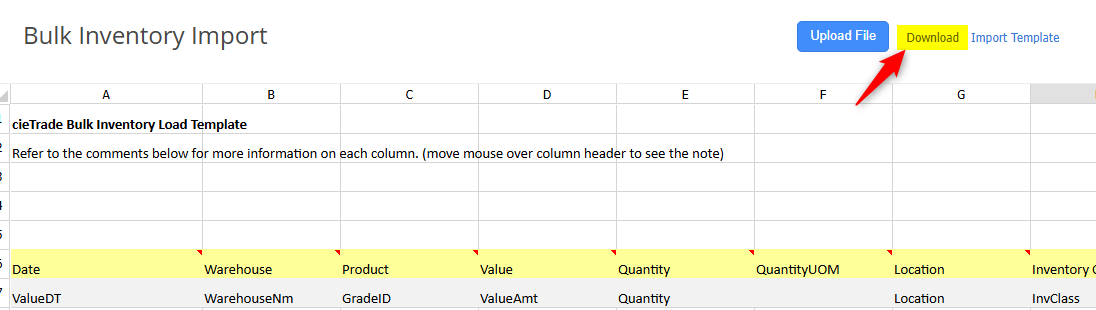
 3. Click on Download in the upper right corner to download an empty template, or copy and paste data into the spreadsheet.
Field Definitions
- Received Date (Required): This must be the last day of the month prior to your first transaction in cieTrade. Feel free to leave this blank: the support team can figure out the appropriate date for you.
- Warehouse Name (Required): This is the warehouse name where the material is located.
- Product ID (Required): The system’s internal product ID that corresponds to the grade. This must match exactly what is in your product list, and should be the product name.
- Value (Required): The total value of the product.
- Quantity (Required): Total quantity on hand of that item.
- Quantity UOM (Required): Unit of measure for the quantity (e.g., EA, LB, KG).
- Location (Optional): The place the material is located within a warehouse. This can be used when you are segmenting bulk material within different areas of your warehouse.
- Inventory Class (Optional): A specification field to further define products.

How to Add/ Fill In Information
Key preparation guidelines:
- Do not delete or rename any columns in the template.
- Only fill in rows below the header row.
- Remove any blank rows before uploading.
There are two ways to add information into the template:
In-cieTrade Method:
- The benefit of filling out the bulk inventory file directly within cieTrade is there is a drop down box feature for selecting the Warehouse quickly select from the list of choices.
- Process: fill out the spreadsheet provided by cieTrade.
Outside cieTrade Method (exported file):
- The benefit of exporting a copy of the upload file, and filling it outside of cieTrade is that you will have a better ability to copy and paste and do large scale data manipulation easier than you would be able to in the system. Additionally, the file can be filled out without a set time limit. So this is great for the larger tasks where you have a large volume of inventory being created, or multiple team members will be working on filling out the information.
- Process: click the Download Template button to download an excel file which will mirror the shown spreadsheet. The bulk inventory information can be added directly into the excel file, which will then need to be uploaded.
NOTE: Both the spreadsheet in cieTrade and the exported file will contain comments in the column headers which will provide more information of the data the field is looking for, and the format it needs to be in. In addition, whether or not this is a required or optional field will be noted.
Importing the Data
- Once you have completed entering all required information into the template, re-upload into cieTrade by navigating back to the import page and selecting Import Template.
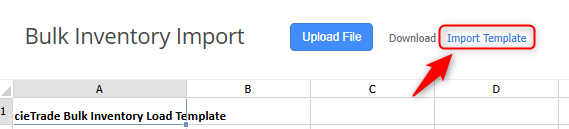
-
Browse your computer files to find the import and select it.
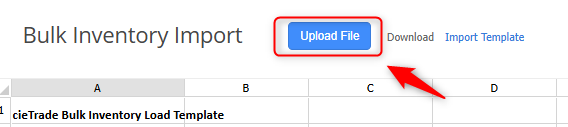
- A preview of the excel sheet will be shown. You can make any final or needed changes at this point.
- Once ready, click the Upload File button to bring all of the new inventory into cieTrade.


Note: If there are any errors with the information entered, the upload will fail and the field with the error will be highlighted in red with an explanation of what needs to change prior to upload.
To ensure you inventory was uploaded correctly, check the Inventory Manager to review your on hand inventory levels.
If you have additional questions, please contact the Support Team via email to support@cietrade.net