How to Combine Counterparties
This guide details the process of combining two or more counterparties into a single entity.
Steps:
- Begin by having the two counterparties you would like to merge in mind. For this example, we will merge "1-Counterparty" and "2-Counterparty".
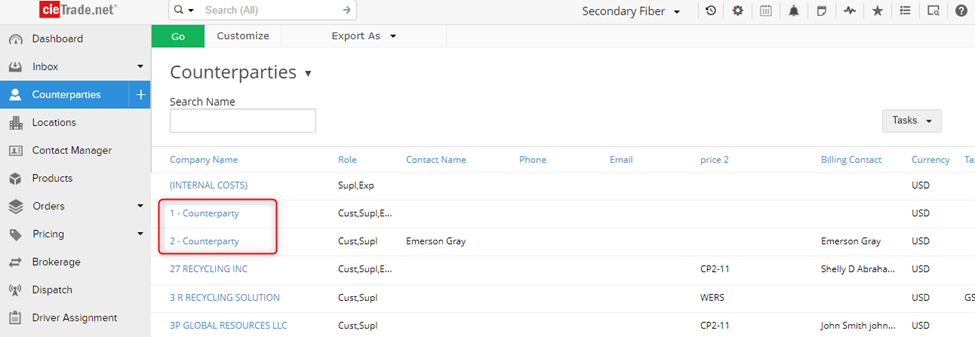
- Next you will need to decide which counterparty will be absorbing the other. For this example, "1-Counterparty" will absorb "2-Counterparty".
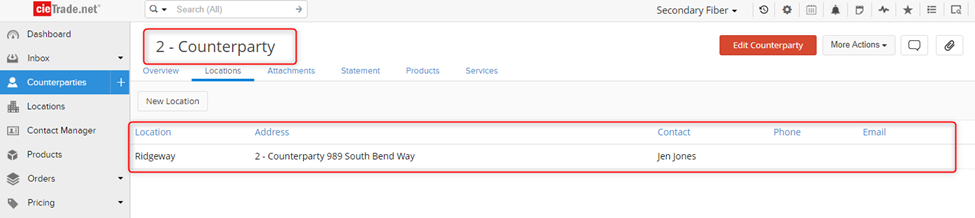
- Next, go to the counterparty being absorbed, and check if there are any locations saved. If the counterparty does not have any locations, skip to Step 14.
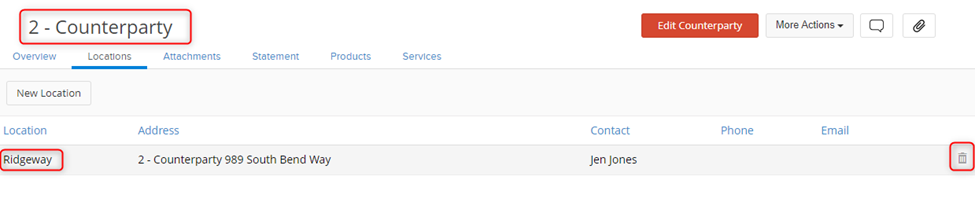
- If the counterparty being absorbed does have addition locations saved, take note of the information on the location screen. All of the locations will need to be replicated under the other counterparty. The most important information being the location label, address, contact, and equipment. For this example, "2-Counterparty" has a location named 'Ridgeway". I will need to create a location under "1-Counterparty" with the name "Ridgeway" then enter all of the information from the original location page.
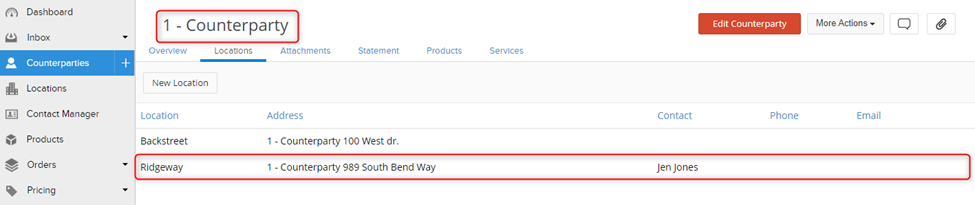
- On the counterparty that is absorbing "2-Counterparty", I created the matching location:
- Check if there is any equipment or services under at the location being absorbed. "2-Counterparty has a compact at this location.
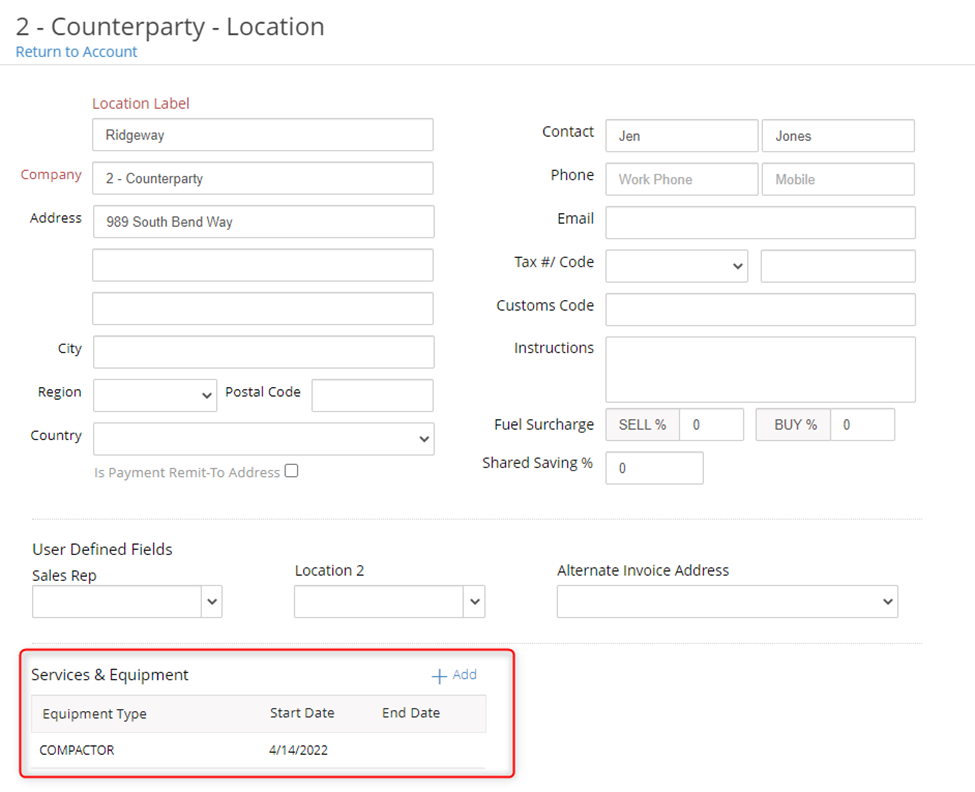
- Click on the equipment, which will take you to the service record. Click "Edit Service" and change the customer and location to the absorbing counterparty, and the corresponding location.
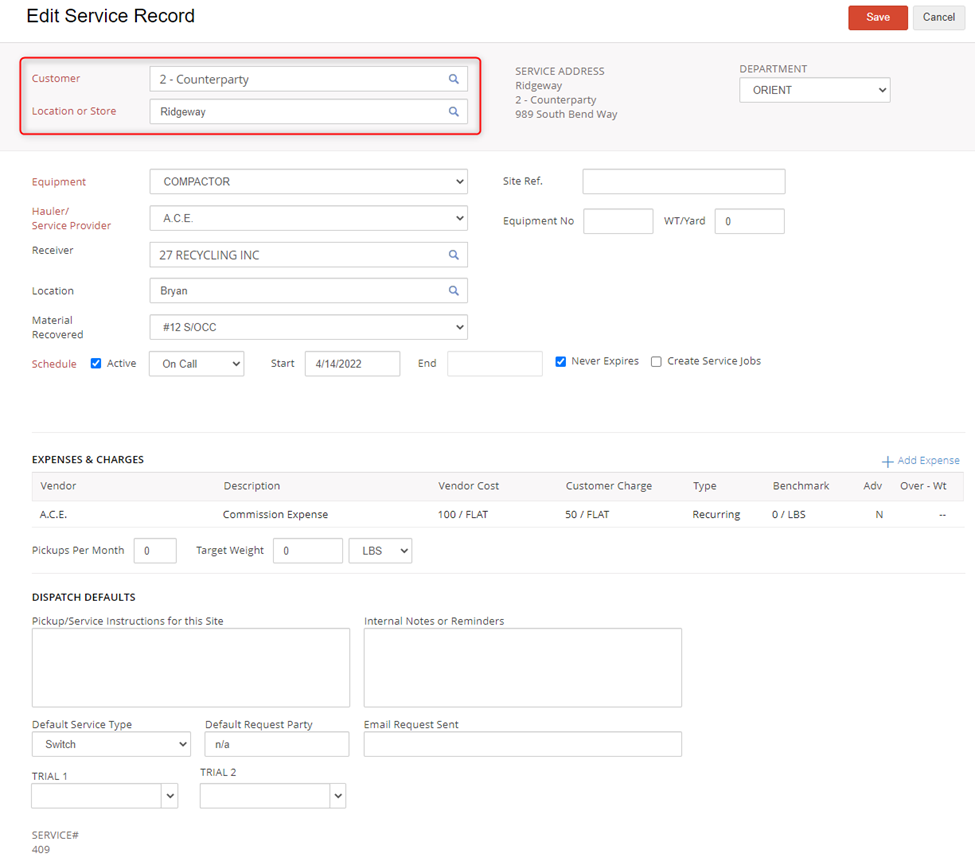
- Repeat steps 6 & 7 until all equipment at the location ("2-Counterparty") has been moved to the mirrored location ("1-Counterparty").
- Once all the equipment has been moved to the absorbing location, delete the absorbed location (location for "2-Counterparty"). This can be done by hovering over the location, and clicking the trashcan icon. If the locations allows you to delete it, then skip to Step 13.
- If you receive an error message preventing you from deleting the location, then you must go through each module, and filter for the counterparty and location, and switch the old location to the new one. Begin by filtering your Shipping and Receiving tickets, then Brokerage, Dispatch, Service Manager, and Billing Manager, then finally, your Purchase and Sales Orders. Make sure you select the correct Customer/Location and have ALL Dates checked.
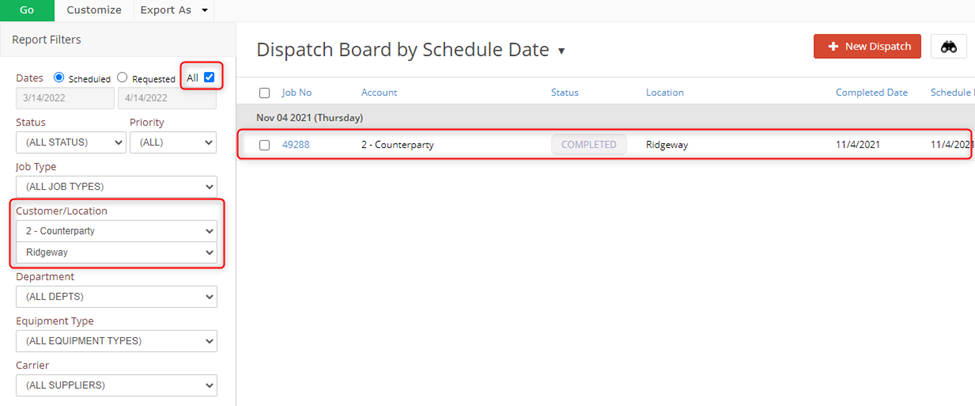
- You will find the worksheet(s) preventing you from deleting the location this way. Once a worksheet is found, switch the location to the new one and try to delete the location again.
- Rinse and repeat until you can delete the absorbed location.
- Repeat steps 4 through 9 until there are no more locations under the counterparty being absorbed ("2-Counterparty").
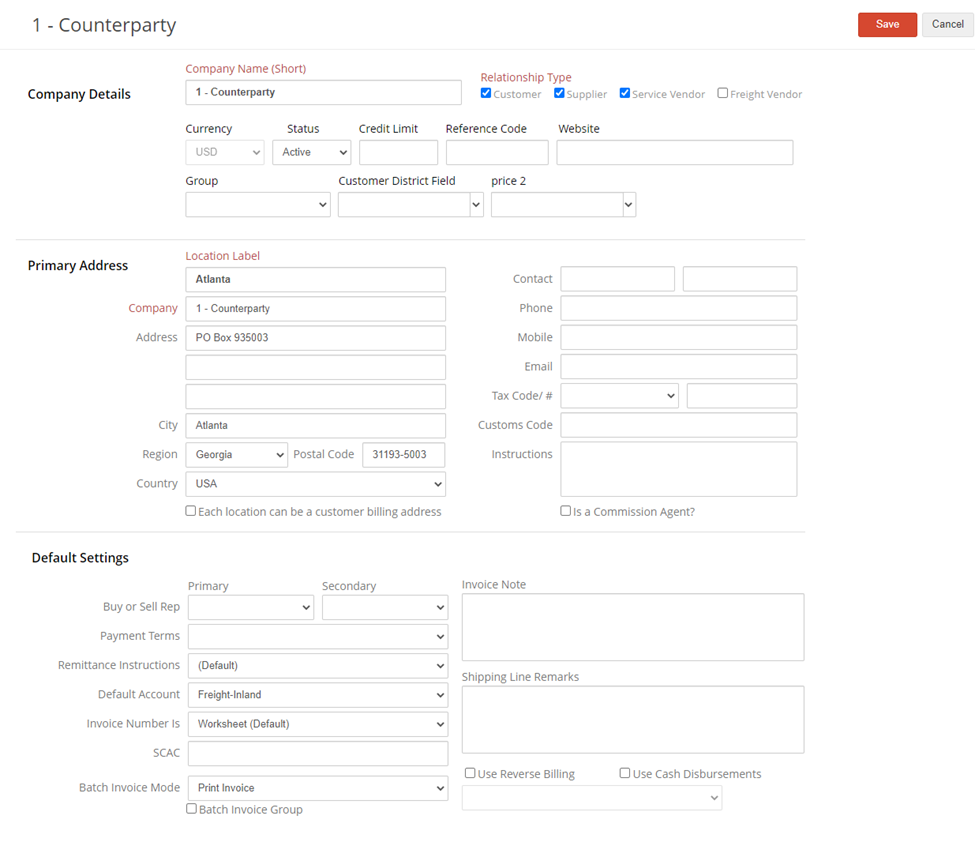
- From here, you will need to decide what information will go into the counterparty that is absorbing the other. For example, which address to use, the primary contact, default settings, etc. You can enter this by going to the counterparty, select "Edit Counterparty", and filling out the Company Details, Primary Address, and Default Settings.
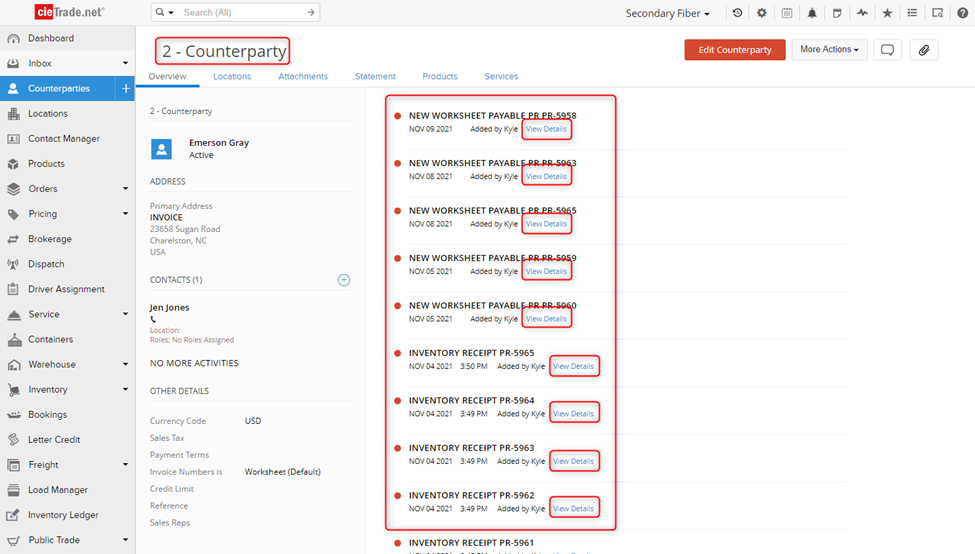
- Next, go to the overview of the counterparty being absorbed. You will find all of the worksheets tied to this counterparty here. You will need to go through each one and switch the counterparty and location to the new one (i.e the counterparty that is absorbing). For this example, I will go through all of "2-Counterparty" activity, and switch it to "1-Counterparty". You will be taken to the worksheet by clicking 'View Details".
- On the Worksheet, change the counterparty to the absorbing counterparty and location.
- If you are prevented from changing the counterparty because the worksheet's POSTED status is greyed out, this either means the payable(s) are posted, or the inventory has been consumed or paid for. You can check on the 'Expenses' tab if any of the payables are posted. In the case you have already received payment for it, you can undo the receipt from the Receipts Ledger. To revert consumed inventory, you will need to follow the item numbers and transactions to get to the worksheet where the inventory has been applied/consumed. Once you are at the worksheet, removed the inventory items from it, and save. Once all of the inventory from the original worksheet is available, you will be able to change the status of the original worksheet. Once you are able to change it, switch the counterparty and location to the absorbing counterparty. Then repost the worksheets along with any payables or receivables you changed.
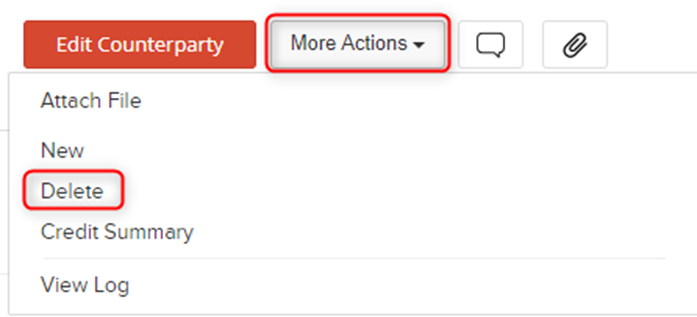
- Work your way down the activity list in the counterparty overview until there are no more. Once there is no more activity listed on the counterparty, you can try to delete it. To delete the absorbed counterparty, go to More Actions > Delete. If you are allowed to delete the counterparty, skip to Step 22.
- If you receive an error message that prevents you from deleting the counterparty, then there are still worksheets (or other items) referencing that counterparty. Similar to the filtering for the location, you must go through each module, and filter for the Counterparty, and switch the absorbed counterparty to the absorbing one. Begin by filtering your Shipping and Receiving Tickets, then Brokerage, Dispatch, Service Manager, and Billing Manager, then finally, your Purchase and Sales Orders. Make sure you select the correct Customer/Location and have ALL Dates checked for the parameters.
- You will find the worksheet preventing you from deleting the location this way. Once the worksheet is found, switch the counterparty to the new one and try to delete the Counterparty again.
- Rinse and repeat until you can delete the absorbed Counterparty.
- You're done!


If you have additional questions, please contact the Support Team via email to support@cietrade.net.